Facebook advertising is not dead. Despite the new players in the social media scene — TikTok, we’re looking at you — knowing how to advertise on Facebook is still an essential skill for most marketers.
If you advertise on Facebook, your posts can currently reach 2.17 million people, which is almost 30% of the world’s population. In addition, the active user base of the platform continues to grow.
Of course, these are impressive figures. But Facebook is considering getting your message across to the right segment of these people. The most sensitive users to be interested in buying your products or services.
Read on to find out everything from the cost of Facebook posts to planning your first campaign.
What are Facebook posts?
Facebook ads are paid publications that companies use to promote their products or services to Facebook users.
Facebook posts usually target users based on their:
- Demographic
- Placement
- Interest
- More Information On The Profile
Companies set an advertising budget and bid for each click or thousand impressions that the ad receives.
Facebook Instagram Instagram Instagram Facebook ads device like Instagram in the application, including in users’ feeds, stories, messengers, market, etc. They look like normal messages but still include a “sponsored” label to indicate that it is an ad. Facebook posts contain more features than normal posts, such as CTA buttons, links, and product catalogs.
In order for your brand to be visible to More users, posts must be part of any Facebook marketing strategy.
How much does it cost to advertise on Facebook?
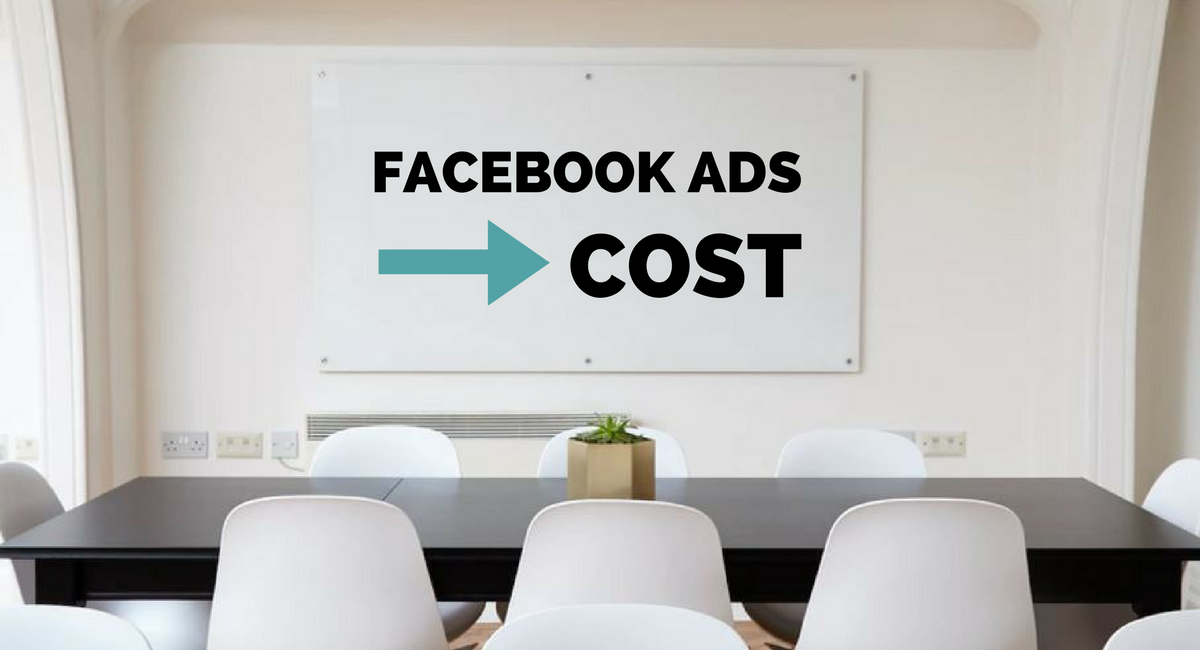
There is no absolute rule when it comes to Facebook’s public budgets. The cost of Facebook posts depends on several variable factors, notably:
- Audience Targeting. It is usually more expensive to place your ads in front of a smaller audience than in front of a larger audience.
- Placement of ads. Facebook Facebook Instagram Instagram Instagram facebook instagram facebook instagram facebook instagram the cost may vary between posts on Facebook and Instagram.
- Duration of the campaign. The number of days and hours that a campaign takes the final cost.
- Competitiveness Of Your Sector. Some industries are more competitive for public space than others. Public costs usually increase the higher the price of the product or the higher the value of the prospect you want to capture.
- Season. Advertising costs may vary depending on the season, holidays or other special events in the industry.
- Time of day. On average, the CPC is the lowest between 1 and 6 o’clock in the morning in an hourly fuse.
- Location. The average cost of advertising per country varies significantly.
- Define the cost of the campaign according to the objectives
- Setting the right campaign goal is the most important thing you can do to control advertising costs on Facebook. Getting this right also increases your chances of success.
The cost-per-click benchmarks vary depending on the objective of the campaign. There are five campaign objectives to choose from.:
- Conversion
- Printer
- Reach
- Clicks on the links
- Lead Generation
Choosing the right goal for your campaign is essential to achieve your goals while reducing costs.
Types of Facebook posts
Marketers can choose between different types and formats of Facebook posts depending on the objectives of their campaign, notably:
- Image
- Video
- Carousel
- Instant Experience
- Collection
- Lead
- Slideshow
- History
- Messenger
Thanks to the wide range of Facebook advertising formats, you can choose the best type of ad that corresponds to your business objective. Each ad has a different set of CTAs to guide users to the next steps.
How to post ads on Facebook
Facebook Facebook Facebook Facebook Facebook if you already have a Facebook business page (and you should be), you can go directly to the publications manager or the sales manager to create your Facebook advertising campaign. If you don’t have a company page yet, you must first create one.
We follow the steps of the ad manager in this article. If you prefer Business Manager, you can find the details in our article on how to use Facebook Business Manager.
The Ad Manager is the starting point for serving ads on Facebook and Messenger. It is an all-in-one suite of tools that allows you to create ads, manage where and when they are shown and track campaign performance.
Step 1: Choose your destination

Facebook Facebook Facebook Ads Manager Log in to the Facebook Ads Manager, select the Campaigns tab and click Create to start a new Facebook advertising campaign.
Facebook offers 11 marketing goals based on what you want your ad to achieve.
How to align with business goals:
- Brand Awareness: Introduce your brand to a new audience.
- Reach: make your ad available to as many people as possible in your target audience.
- Traffic: direct traffic to a specific Facebook Messenger website, app or conversation.
- Engagement: Reach a large audience to increase the number of post engagements or followed pages, increase attendance at your event or encourage people to take advantage of a special offer.
- App Installs: get people to install your app.
- Video Views: get more people to watch your videos.
- Lead Generation: Get new leads into your sales funnel.
- Messages: Encourage people to contact your company through Facebook Messenger.
- Conversions: Get people to perform a specific action on your website (for example, subscribing to your list or buying your product), using your app or in Facebook Messenger.
- Catalog Sales: Connect your Facebook ads to your product catalog to show ads for the products you are most likely to want to buy.
- Shop Transport: Drive customers to body stores nearby.
- Choose a campaign goal based on your goals for that particular ad. Remember that for conversion-focused goals (like sales) you can pay per share, but for exposure goals (like traffic and views) you pay for impressions.
In this example, we choose the engagement goal. From there, we have to indicate what kind of commitment we want.
We will select the “like” page for now.
Some of the options that you will see in the following steps will vary depending on the chosen destination.
Click next.
Step 2. Name your Campaign
Name your Facebook advertising campaign and indicate whether your ad fits into special categories such as credit or policy.
If you want to set up an a/B split test, click Get Started in the a/B Test section to set this indicator as your control. You can select different versions to run for this ad after it is published.
Scroll down a little further to select whether the campaign budget should be activated by advantage+ or not.
This option can be useful if you are using multiple ad sets, but for now you can leave it disabled.
Click next.
Step 3. Set your budget and schedule
At the top of this screen, you name your ad set and select the page to promote.
Then you decide how much money you want to spend on your Facebook advertising campaign. You can choose a daily or lifetime budget. Then set the start and end dates if you want to schedule your ad in the future, or turn it on immediately.
Facebook running your paid ads on a schedule can be the most effective way to spend your budget, as you can only run your ad when your target audience is most likely to be on Facebook. You can set a schedule only if you create a lifetime budget for your ad.
Step 4. Target Your Audience
Scroll down to start creating the audience for your ads.
First of all, select your destination, age, gender and language. Under Location, you can even include or exclude cities of a certain size.
You can also prioritize people who have recently shown interest in the product or service you are selling.
When making your selection, keep an eye on the audience size display on the right side of the screen, which will give you an idea of your potential ad reach.
You will also see an estimate of the number of daily visits and liked pages. These estimates are more accurate if you’ve already done campaigns, because Facebook has more data to work with. Always remember that these are estimates, not guarantees.
Now it’s time to move on to detailed targeting.
Remember: effective targeting is the key to maximizing ROI, and there is no shortage of ways to target your audience with the Facebook Ads Manager.
Use the “Detailed targeting” field to specifically include or exclude people based on demographic characteristics, interests and behaviors. You can really be accurate here. For example, you can target people who are interested in both traveling and hiking, but exclude people who are interested in hiking.
Step 5. Choose Your Facebook Ad Placements
Scroll down to select where you want your ads to appear. If you are new to Facebook advertising, the easiest choice is to use Advantage+ placements.
Facebook Instagram Facebook Instagram Facebook Facebook Facebook Instagram Facebook if you select this option, Facebook will automatically place your ads on Facebook, Instagram, Messenger and the audience network when you are likely to get the best results.
Once you have more experience, you may want to choose manual placements. If you select this option, you will have complete control over where your Facebook ads appear. The more placements you choose, the more opportunities you have to reach your target audience.
Your options will vary depending on the campaign goal you choose, but may include:
- Device Type: Mobile, Desktop or both.
- Facebook Facebook Instagram platform: Facebook, Instagram, audience Network and/or Messenger
- Placements: Streams, stories, roles, in-stream (for videos), search, posts, overlay and post-loop ads on roles, search, in-articles and apps and websites (outside of Facebook).
- Specific mobile devices and operating systems: iOS, Android, feature phones or all devices.
- Only when connected to Wi-Fi: the display is only displayed when the user’s device is connected to Wi-Fi.
Step 6. Define brand safety and cost control
Scroll to the brand security section to exclude all types of content that should not be displayed with your ad.
For example, you can avoid sensitive content and add certain blacklists. Blacklists can exclude certain websites, videos and publishers.
If you are satisfied with all your options, take a last look at the estimates of the potential reach and the most popular sites.
If you are satisfied with what you see, click Next.
Step 7. Create your Ad
First, select the format of your ad, and then enter the text and media components of your ad. The available formats vary depending on the campaign goal you selected at the beginning of this process.
If you are working with an image, select your media from your Facebook gallery and select the appropriate crop to fill in your placement.
Use the preview tool on the right side of the page to make sure that your ad is displayed correctly for all potential placements. When you are satisfied with your selection, click on the green Publish button to start your ad.