Are you wondering how to improve the SEO of your website and quickly increase web traffic? There are many concrete steps that you can take today. Most don’t even need a web developer or coding skills to get started.
Below we will discuss 12 best practices that you can easily incorporate into your business plans to help you:
- Higher ranking in search engines
- Grow Your Audience
- Gain more leads
We will also give you tips on how GoDaddy can help you along your journey and share many free resources for you to refer to along the way.
1. Optimize Your URLs
Optimizing your URLs is a good way to quickly improve SEO. This is something that requires little effort, but can help improve your ranking if done right. Here are some best practices to watch out for.
Opt for shorter URL titles
When it comes to URLs, you want to keep them short and compelling. Shorter URLs are often easier to remember, which makes them more shareable and better placed. Make sure your URL is free of fluffy words (like “and” or “for”) and easy to understand.
Note: The GoDaddy website builder automatically optimizes the title of your URL for you by limiting it to 25 characters. Just type the title of your URL in the text box provided for “page title” and you’re done. It also fills in all spaces with dashes according to the web Convention.
Include the main keywords
Adding a main keyword to your URL is another good optimization practice and should also be applied to yours:
- Meta title: This is the blue header on the search engine results page
- Meta description: This is the copy located under the title of the meta
- Title on the Page: This is the actual title of your work above
- Try placing your keyword closer to the beginning of your URL title for better results.
Keep it relevant
URLs should also be relevant to the content you are displaying on that particular page. If you align them with the page copy, Google’s search robots can easily understand and identify the information for search queries.
The more relevant your information is to a search query, the higher it ranks on Google.
Consider how relevant it will be for future use. You don’t want it to be too specific, to become less relevant over time.
For example, you can make a URL more applicable for future use if you avoid adding a specific year at the end. Take a look at the URL endings below to see how they differ.
Instead of a URL that ends with .com/best father’s Day gifts
Go for something like:. com / best father’s day gifts
If other websites link to your page, the URL without The year allows this page to keep all the authorities and associated rankings in the future.
A note on changing the URL titles
Changing the title of your URL is an Option with GoDaddy’s website builder, but it is not recommended to make changes if you are working with older existing pages.
Changing an existing URL can hurt your SEO and lead to less traffic, because you probably have backlinks attached to the post you want to edit. This means that whenever someone finds the old link via a partner page or Newsletter, they could land on the dead link instead.
Unless you really need it for rebranding purposes, it’s best to avoid this route to avoid damaging your SEO.
2. optimize metadata
The term “metadata” often appears when looking for ways to quickly improve SEO. It refers to the data on a web page that provides Google with information about a particular website. In other words, it is data that describes other data.
The metadata itself does not affect SEO rankings. But it can help in the following areas:
- Increase Engagement
- Increase click-through rates
- Gain the advantage over your competitors
This is a small piece of the SEO puzzle that is often overlooked but can be beneficial when combined with other best practices. Let’s take a look at two ways to improve your metadata below.
Meta Descriptions
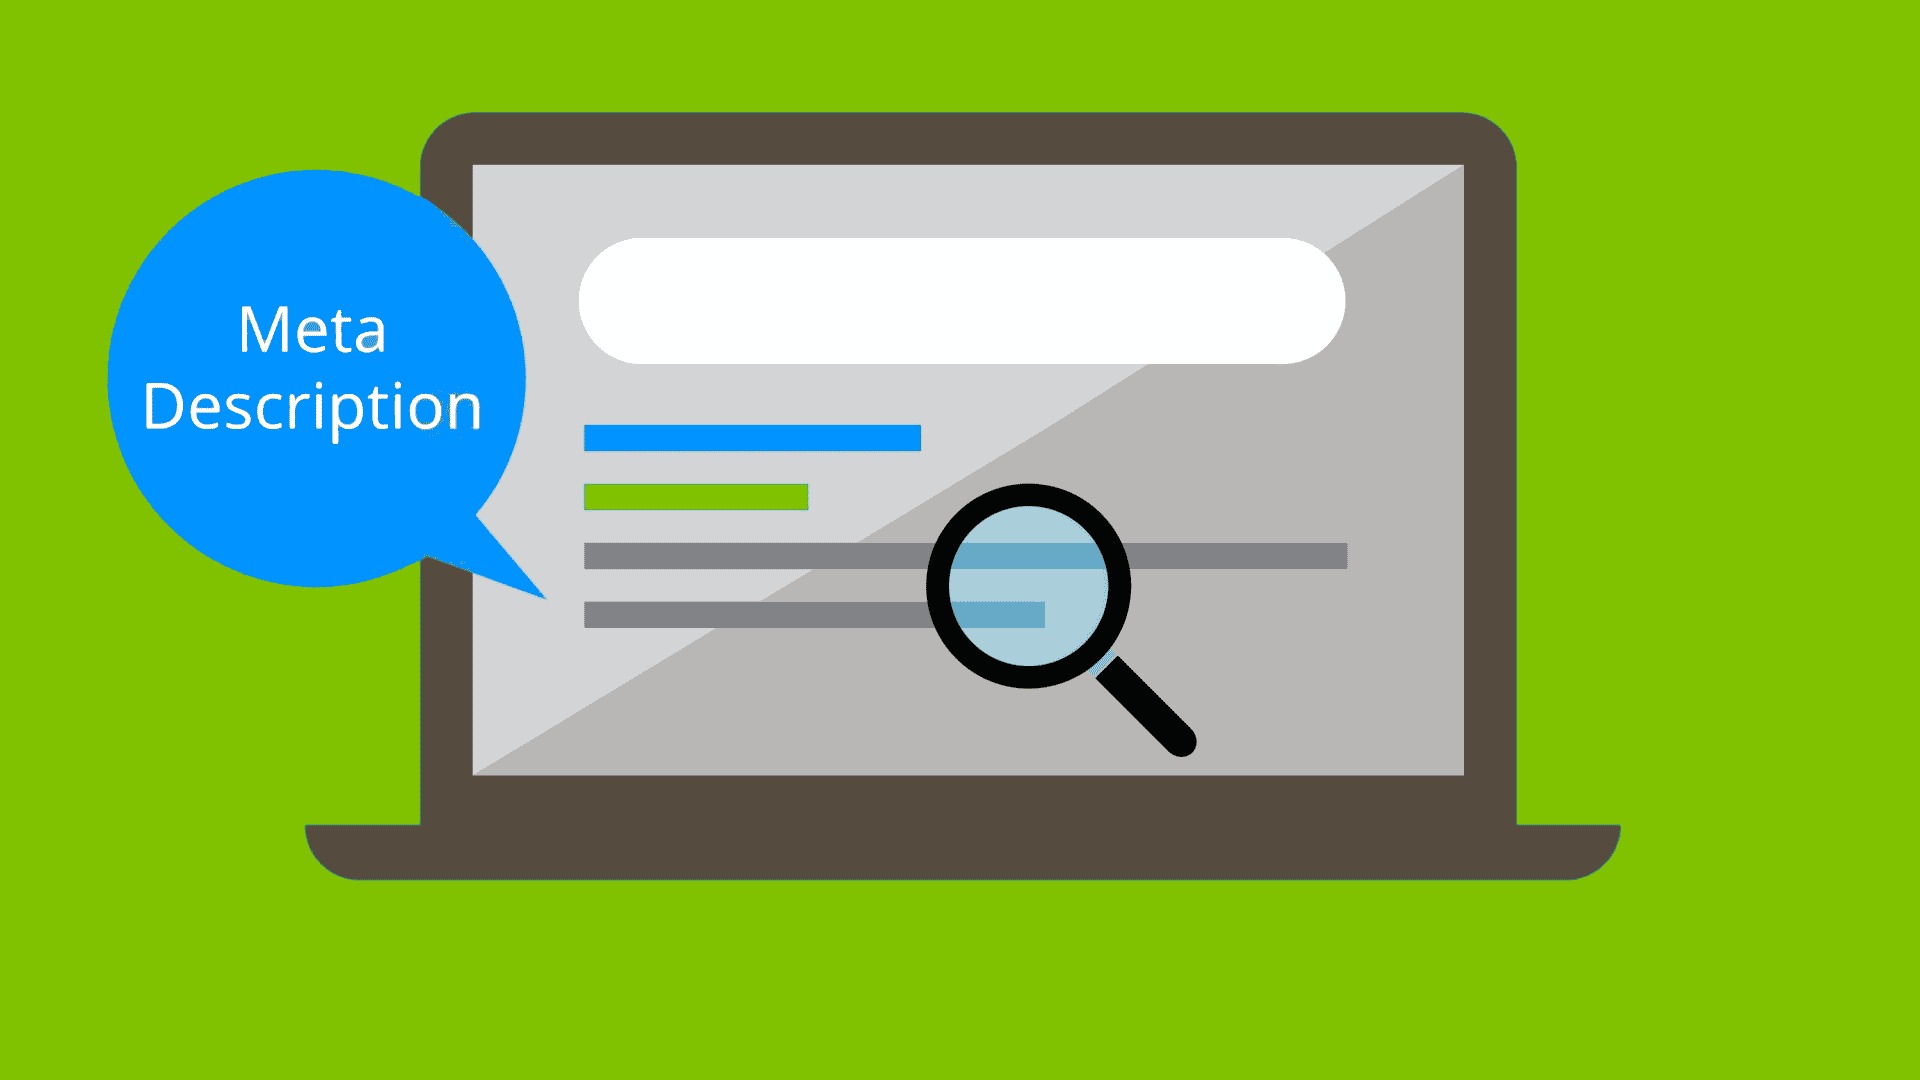
Meta descriptions appear on the search results page under the meta title. There is often a brief snippet of what the web page is about and usually includes a call to action (CTA) to encourage more clicks.
Examples of these CTAs might look like this:
- “Buy now”
- “Make an appointment”
- “Click here to find out more”
As mentioned earlier, you must include a main keyword in the description and limit the copy to a maximum of 155 characters. The main keyword is also highlighted in bold whenever it corresponds to a researcher’s query.
Meta-Title
The meta title (also known as the title tag) is the text that appears on the search engine results page in large blue font. This is often the first thing that researchers see and can sometimes be confused with the H1 tag.
However, the meta title and the H1 tag are two separate things.
The meta-title is named with SEO and Google in mind, while an H1 tag is more for the benefit of the user. Often, digital marketers use the same title for the meta title and the H1 tag in order to make users less confused.
When naming your meta title, you should always:
Include a main keyword at the beginning. An exception should be made for well-known brands or local companies that should add their company name to the launch.
- Describe exactly what is written on the page. Be sure to show what people want to see and use actionable words that generate more clicks.
- Make sure that each title tag is unique. Look at competitors for ideas, but don’t copy them. Keep it short and sweet like: great men’s clothing |High Jeans, pants and coats/ ABC.
- Keep it to 65 characters or less. This includes spaces, so avoid talking about it if you don’t want search engines to automatically truncate it for you. The title tags can be rewritten by Google if it thinks that there is a more appropriate one for the searcher’s query. If you need to test the length, you can use free online tools like this meta title counter to help you.
Editing the Meta title and meta description is easy with GoDaddy’s website builder. Just use the editor and navigate to the page you want to optimize. Click on Settings (gear icon), then select be found on Google to change what you need.
3. Check Your Speed
An important element to improve SEO is speed. The time it takes for your web page to load will have an impact on whether your users stay engaged or come back looking for something better.
Between July and August, Google deployed a Core Web Vitals (CWV) measure to help website owners evaluate the overall performance of their pages.
This report is based on real user data (or field data) and includes three segments that evaluate a user’s experience when loading a web page – two of which relate to the speed of a website.
Here is a brief breakdown of each for reference:
- Largest Content color (LCP): This is the largest block of text, video, or graphic that takes the longest to load after a user clicks on your website.
- First Entry Delay (FID): This is the time it takes for a browser to respond to a user’s first interaction on your site (usually when they click on a link or press a button).
- Cumulative Layout Change (CLS): This has to do with all the layout changes that your user experiences when interacting with your page. Too many unexpected changes can lead to a bad user experience if they are not reported.
- A good practice is to mark less than 1.3 seconds when you reach the first byte. This means that the overall responsiveness and speed of your website should fall within this period after a user clicks on your site via a search query.
How to Optimize your CWV Score
Rankings are influenced by a CWV Score, so it is better to aim high when the rankings are good to increase web traffic.
John Mueller, Google’s search advocate, noted during a recent discussion on YouTube that if a website regularly lost or gained traffic during the CWV deployment period, it was probably related to the site’s CWV score.
GoDaddy’s website builder scores almost 68% good CWV rankings and outperforms most other competitors. This is a great option if you are looking for a hassle-free performance speed on your website. In addition, it includes other foolproof things like SSL certificates and more.
With non-GoDaddy sites, your biggest priority is to minimize the size of the images before uploading them to your site. Try using an image compressor to reduce loading time and apply a lazy load plugin if you have a WordPress site. This will make all the images under the fold appear only when the user scrolls down.
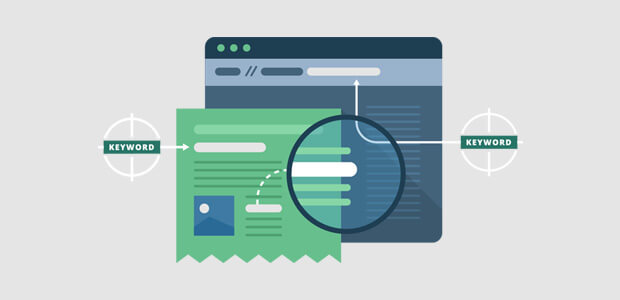
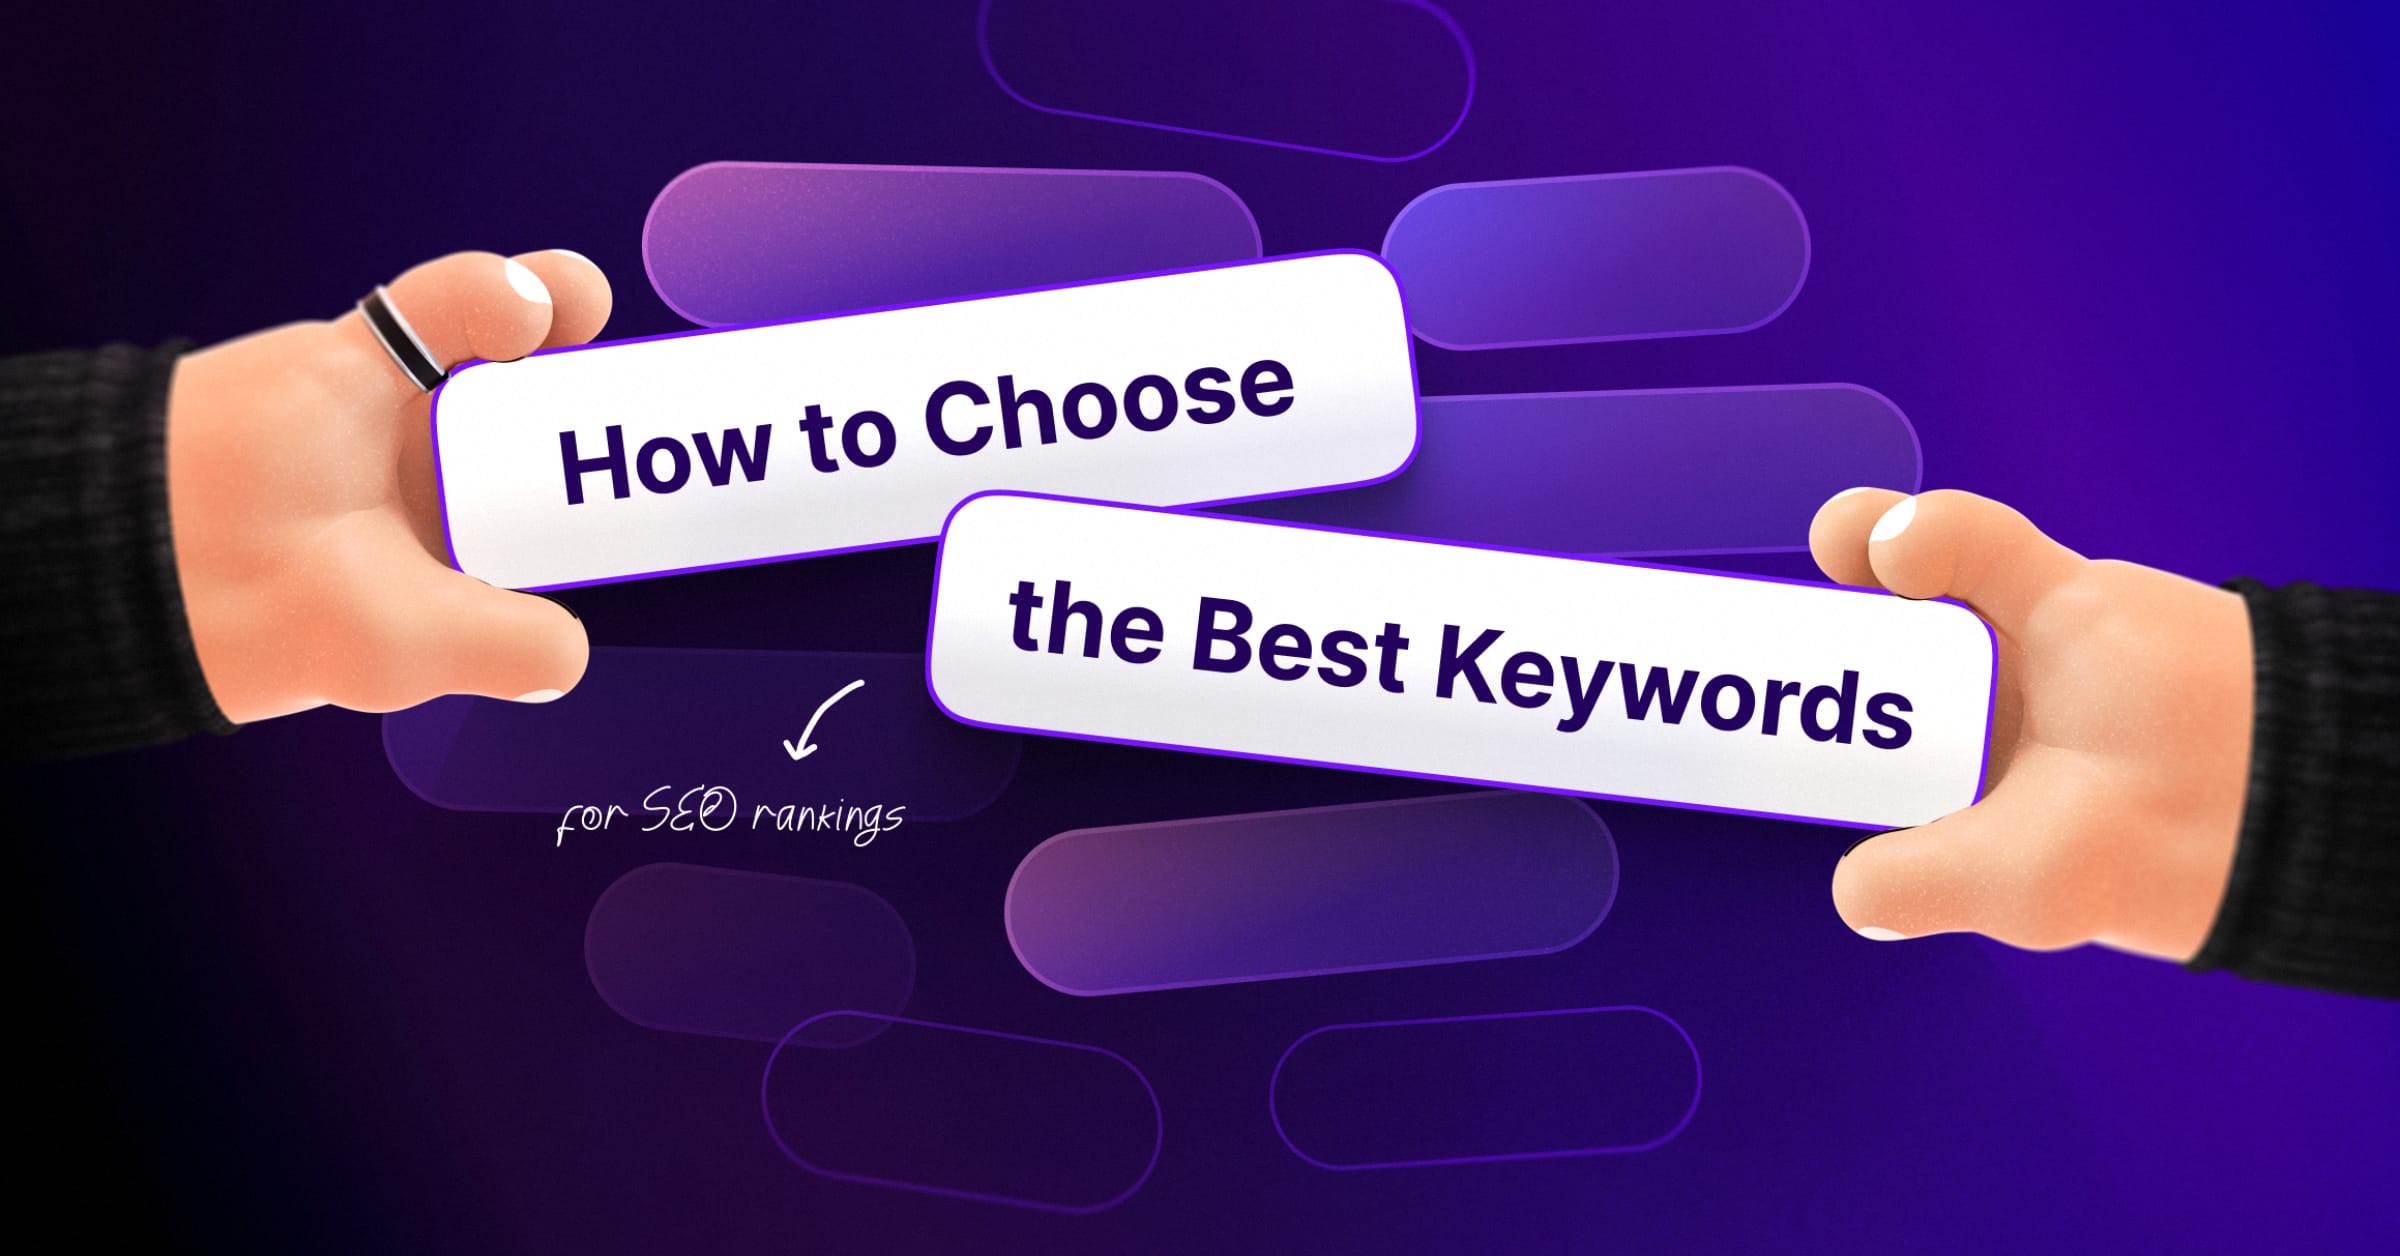
4. Find the right keywords for your content
Improving SEO means creating content that Google can easily understand. That’s why optimizing with keywords helps. It allows Google bots to decipher the topic of your page so that it can provide relevant results for search queries.
Let’s take a look at some best practices for using keywords.
How to choose the best keywords
When creating content for your website, remember the phrases and terms that your target audience can type into a search query. For example, if you are a retailer specializing in children’s clothing, you can search for keywords such as:
- Toddler girl dresses for spring
- Baby Boys Romper with Zipper
- Sportswear for boys and girls
Keep an eye on your competitors and make a note of how they use your keywords for search queries.
Be guided by these results when deciding which keywords to create for your own content. Make sure your version is better optimized and more informative to reach the top edge.
Where the most important keywords should be included
Here are some other areas where you need to include main keywords in your text:
- Every page of your website: Include a master keyword for every 60 to 150 words in each of your articles. Make sure they sound natural and avoid keyword stuffing to prevent Google from penalizing you.
- Title on the page: Make sure that every page of your website has a master keyword in the title on the page at the top.
- First 100 words on each page: Include a master keyword for each article in your opening paragraph. The sooner you introduce it, the better.
It is also better to add a secondary keyword whose meaning is similar to your primary keyword. This will give Google additional information (or hints) about the topic of your page.
Editor’s note: GoDaddy’s website builder automatically assigns your primary keyword as the required H1 header tag on the backend, so no additional coding is required for you. This makes it easier if you want to adjust the font size or font style. Just edit as you go.
Keyword Length
When it comes to keyword length, there are two things to consider:
- Short keywords with large volumes are more difficult to rank for and more competitive
- Longer key phrases with three to five words are easier to rank and less competitive
- Suppose you run a clothing store. Instead of choosing a generalized keyword like “t-shirts”, you can opt for something more specific like “cruelty-free vegan T-shirts”.”The competition for the longest judgment is weaker and has a better chance of ranking higher on Google.
Duplicate keywords
Similarly, you want to avoid having the same keywords and phrases on multiple pages of your website. This is called keyword cannibalization and can lead users to the wrong page when they access your website through a search query. It’s also not good for bounce rates.
The same applies to duplicate content. Avoid creating articles with similar topics, as this could confuse search engine bots.
An example would be to target “annulment lawyer near Los Angeles” on one page and “how to find an annulment lawyer near me” on another. The angles are too similar for Google to tell the difference.
Useful tools and resources
To help you with strategic optimization, you can use the following tools to decide which keywords to use:
- Google Keyword Planner: this is a tool for finding keywords that many digital marketers use, especially in advertising. But you don’t have to be an advertiser to use it. Anyone can register for free and thus get an overview of the keyword search volume.
- KWFinder: if you are looking for a tool with advanced features, try KWFinder. It offers a free trial version and helps you to find keywords that are easy to rank.
- Keyword tool: E-commerce shop owners can develop additional ideas with such predictive search tools. It gives you free keyword research suggestions for Amazon, eBay and more.
- Remember that it is best to avoid keywords whose volume is in the highest and lowest categories. Refer to these tools whenever you need help.
5. Write for your audience
Developing content that will quickly improve SEO should focus primarily on your audience.
This will allow you to create content that will be really useful for potential customers visiting your site. It’s also something that Google rewards you for in rankings and leads users to CTAS that apply to:
- Purchase
- Registrations by e-mail
- Inquiries and more
When writing the content of your site, you should keep in mind that there are two main categories to consider:
- Standard pages and blog posts: these usually consist of informative content. A standard page must be at least 300 words long, while a blog post must be 700 or more words long.
- E-commerce product Pages: E-commerce pages focus more on product details. The recommended word count for these pages should be between 120 and 200 words.
- Let’s discuss even more so that you can better understand why both are important for improving SEO.
Pages and blog posts
Pages and blog posts provide users with informative content, but they differ in the type of content displayed. Pages are more static and do not need to be updated often (like the “About Me” or “Contact” pages), while blog posts constantly update relevant queries for your product or service.
Google ranks all web pages based on a mixture:
- Relevance for the researcher
- Value of the content on a page
- The uniqueness of the site
- Global authority of a website
Authority takes time and is something you gain as your audience grows. It’s not something you can control right away. However, optimizing the other categories can help you achieve authority success down the line.
Dwell time
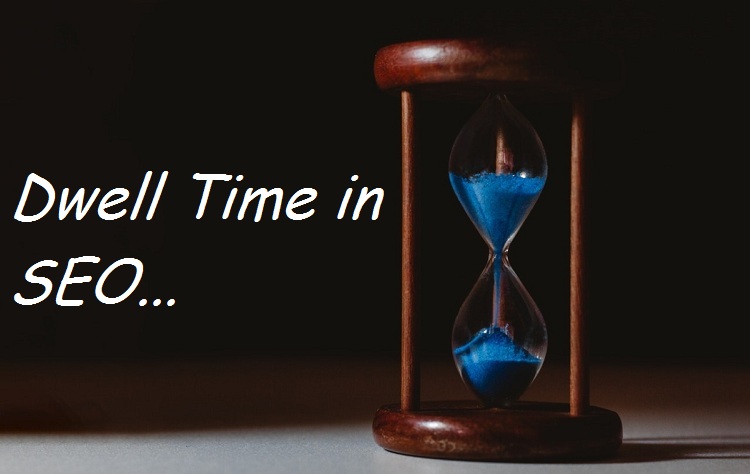
Google rewards sites with higher rankings when searchers stay around for a while (i.e., dwell time).
Write as if you were encouraging a friend to take the next step with your business offer. Use inspirational words and provide informative content that will help users overcome their difficulties.
E-commerce product pages
E-commerce sites provide users with information about your product or service, but also convince them to make a purchase.
Many e-commerce websites do not have visibility due to a lack of content, which makes ranking difficult.
A general recommendation for improving SEO is to optimize the product and service pages first. You can do this by:
- Use of long-tail keywords: this helps to increase the chances in competitive areas and even convert better with keywords with low search volume. It is better to get a small increase in web traffic and sales than none.
- Reach the minimum word count from 120 to 200: do this for all the products in your online catalog and avoid writing beyond this range. Writing too much could be a distraction for the potential sale.
- Attractive image uploading: try to aim for at least three images per product, including one that shows that it is being used. You can also add product-specific text to images that highlight the dimensions and special features.
- Avoid copying manufacturer descriptions: Google considers this content to be a duplicate and they harm your SEO.